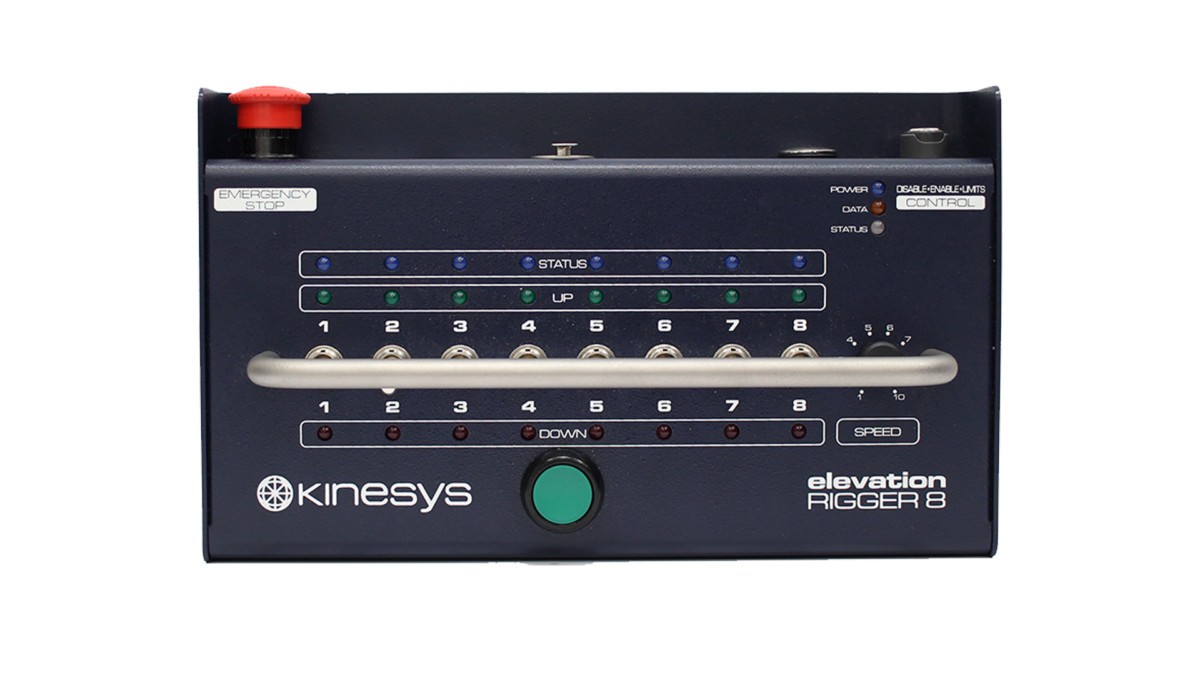
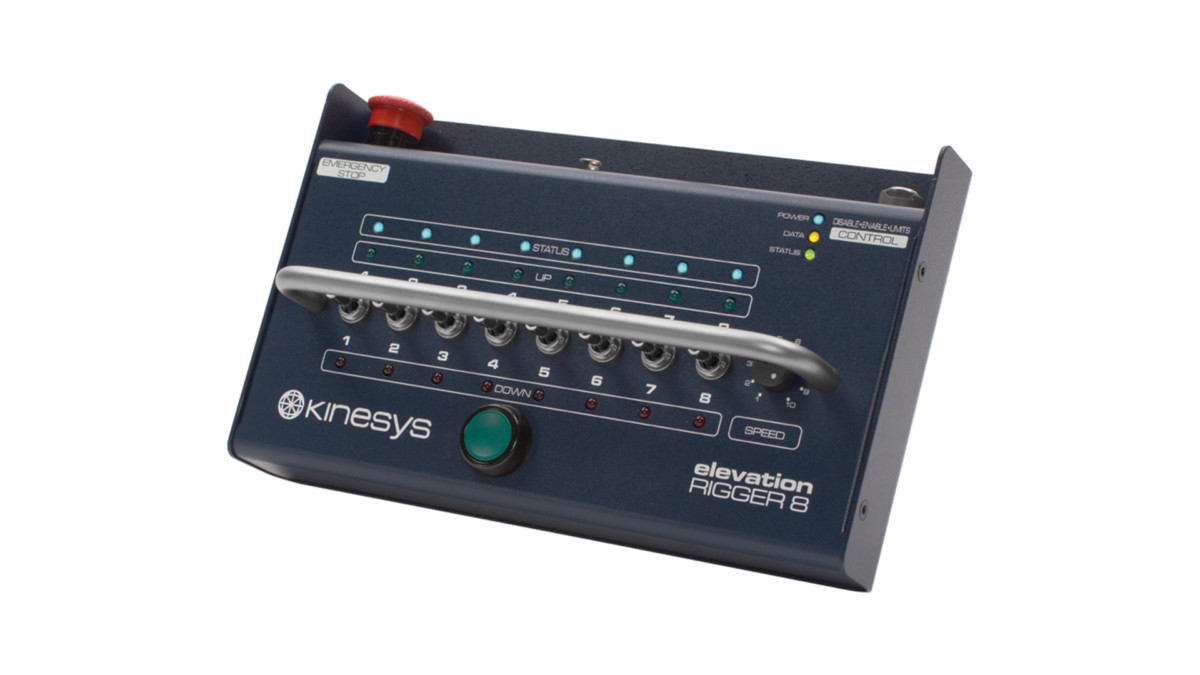
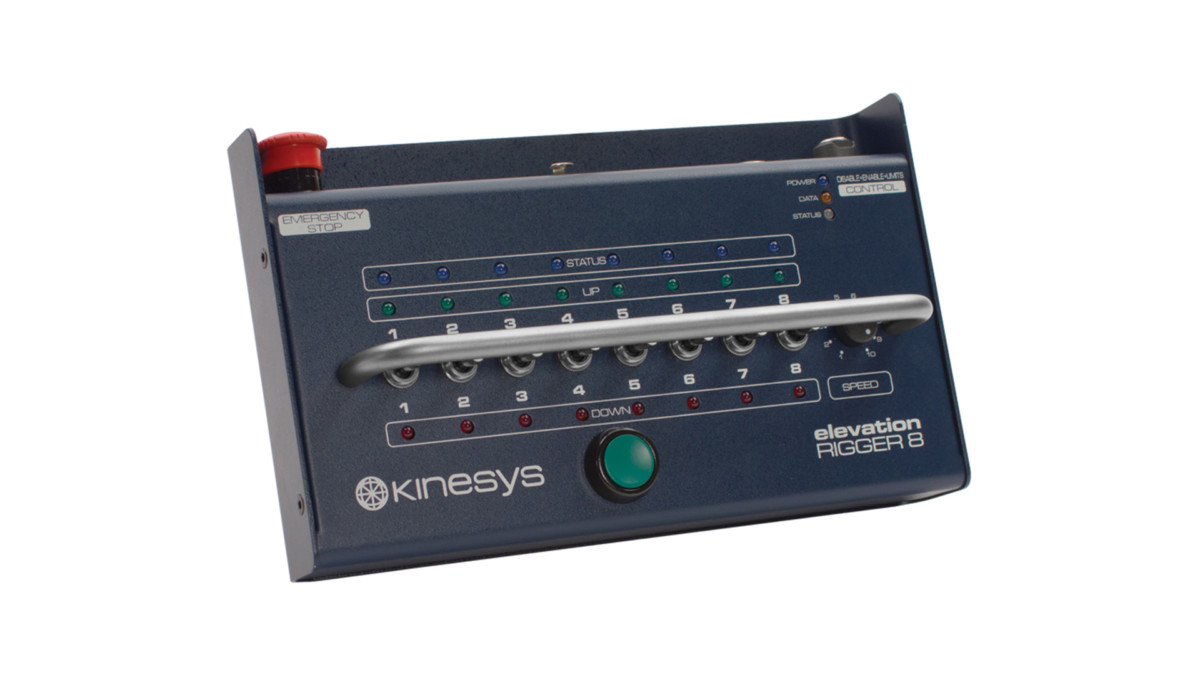
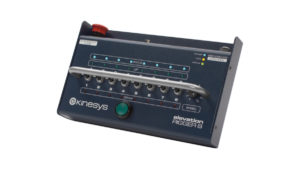
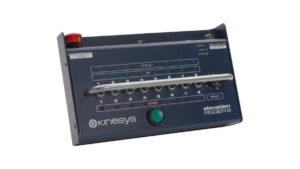
Designed to mimic industry-standard handheld controllers the Rigger offers an instantly recognisable method of operation with minimal training required.
A Rigger can operate variable speed chain hoists and can be used in place of, or in conjunction with, a computer control system such as Vector or K2.
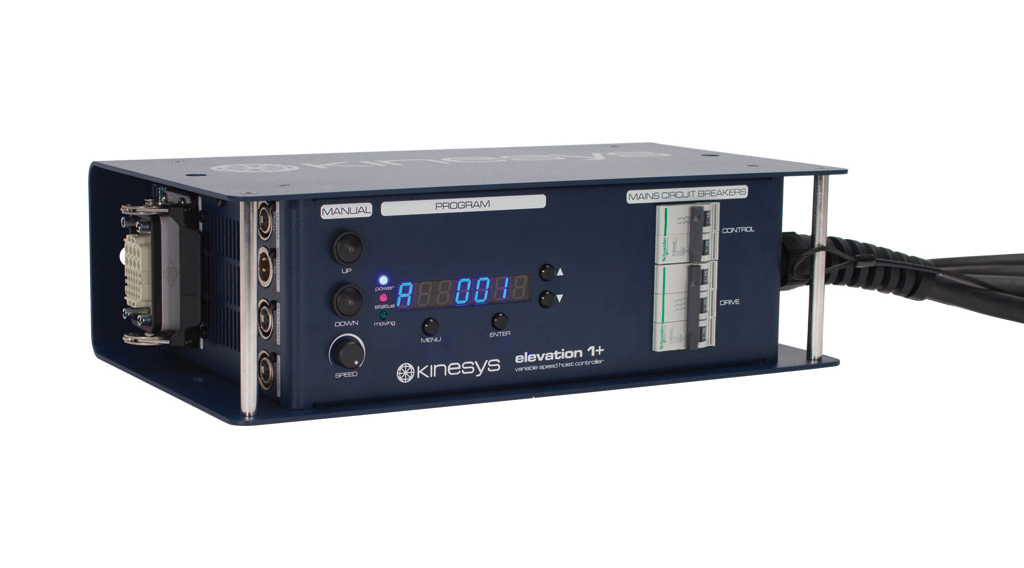
Using the flexible menu system on the Elevation 1+ along with the on-board speed control, the Rigger can be used as a controller for simple set up operations where only basic movements are required.
It is not recommended to run shows using a Rigger handset unless allowed by your risk assessment.
An Emergency Stop button built into the handset and group halt functionality means that the Rigger provides a safe method of movement for set up purposes. The Rigger will automatically scan and recognise all connected Elevation 1+ units, further enhancing ease of use and operation.
Rigger
-
Features
- The ability to enable and disable the limits using a bypass key
- Integrated speed control for use with variable speed hoists
- Positive, direct action toggle switches as well as separate Up, Down and Status indicators provide intuitive and instant feedback
- Integrated Emergency Stop button, multifunction key switch and a group halt feature ensure the unit can be operated safely and securely
- A single XLR-7 cable provides the power and data connection required to operate the unit
Control Connections
- XLR7 for power and data
- 2 x XLR7 on 16 and 24 way Rigger handsets
FAQ
-
23/09/2010
Rigger remotes have two different ways of addressing Elevation 1+ units, standard addressing and auto addressing. You can switch between these two modes via dip switches 1-3 on Rigger unit, full dip switch settings are available here.
Standard addressing assigns addresses sequentially, starting with channel 1 and finishing with channel 8 or 16 depending on the controller type. The start address is determined by the setting of DIP switches 2 and 3.Auto addressing scans all the available addresses from 1 to 999 and assigns them to channels on a first found, first assigned basis. The scan of all addresses occurs on power up and as a consequence the unit can take up to 5 seconds to complete its scan before operation of the discovered controllers can begin. When using auto addressing care must be taken to ensure that all the chain hoists controllers are powered up before the Rigger starts it scan. If this is not the case then units may be assigned in an unexpected order and therefore hoists may not appear on the channels numbers as expected.
-
23/09/2010
Rigger 8, 16 and 32 units have a built in self-test mode, which is activated when they are powered up.
If the Rigger is powered on with the control Key switch in the spring loaded Limits position and any channel select switch not in the OFF position, self test mode will be entered a short time after the software version number has been displayed.
The unit will exit this mode when all channel select switches are in the OFF position. Any channel select switch that is not in an OFF position will illuminate either the up or down indicator
to show that the system has read the switch correctly. The Speed Control will illuminate the Status indicators, and the GO button will invert these indicators. -
07/09/2010
No, you can set the start address of one Rigger 8 to be 1 and the second to be 9. That way each one will look at different sets of hoists but you can’t get them to both talk down the same cable at the same time. There can only be one master on the line at a time, be it Vector, K2 or a Rigger handset.
You could cable the Elevations so they were in two loops of 8 (but on 16 different addresses), so if you wanted to run them from a computer you would plug each loop into one of the two outputs on a uTransform or if you wanted to run them from a Rigger you would plug each loop into one Rigger.
-
07/09/2010
Eight DIP switches are available to the user. To access them unscrew the protective blanking plug on the back of the unit. Through the hole the switches are numbered one to eight from left to right. The switches are OFF when they are in the down position and ON when they are slid to their top position.
Address Mode – DIP 1
Two addressing modes are available, Standard and Auto Addressing. Standard addressing assigns addresses sequentially, starting with channel 1 and finishing with channel 8 or 16 depending on the controller type. The start address is determined by the setting of DIP switches 2 and 3.
Auto addressing scans all the available addresses from 1 to 999 and assigns them to channels on a first found, first assigned basis. The scan of all addresses occurs on power up and as a consequence the unit can take up to 5 seconds to complete its scan before operation of the discovered controllers can begin. When using auto addressing care must be taken to ensure that all the chain hoists controllers are powered up before the RIGGER starts it scan. If this is not the case then units may be assigned in an unexpected order and therefore hoists may not appear on the channels numbers as expected.
Address Banks – DIP 2 and 3
When used in standard addressing mode the start address for channel 1 can be set via DIP switches 2 and 3. This can be set to either 1, 9, 17 or 25 using a combination of the two switches as outlined in the table above.
Maximum Speed – DIP 4 and 5
The RIGGER control units can control a variety of chain hoists at the same time. As each chain hoist type will have its own maximum speed, sending the position of the speed control as a percentage 0 – 100% would result in the different hoists running at different speeds. The speed is therefore sent to the units as a value in millimetres per second. The speed range is determined by the maximum speed set by DIP switches 4 and 5.
Note
In versions of rigger software prior to 1.5 the maximum speed settings were 100, 200, 300, 400 this has now been changed to 100, 200, 400, 800 to allow for a wider range of control.Ramp Rate – DIP 6 and 7
DIP switches 6 and 7 are used to set the rate of ramp rate for moves normally a rate of 100mm/s/s is adequate for most situations, but faster motors may require higher ramp rates.
The Ramp rate can only be set in Rigger firmware 1.5 or greater, in earlier versions of the software the Ramp rate was fixed at 100mm/s/s. In earlier versions of the firmware these switches should be left in the off position.
Programming Mode – DIP 8
Development of RIGGER controllers is an on-going process and as new features and facilities are added to the software you may wish to take advantage of these by upgrading your controller. This can be done very simply and full details of how to do this will be supplied with any software upgrades. The software can be downloaded from any personal computer that has an available serial port. When programming new software into the controller DIP switch 8 is set to the ON position. At all other times and for normal operation this switch should be left in the OFF position.

